i heart cake website down
Posted on: April 18, 2009
I have had quite a few of you ask me if my website is down and i’m afraid to say that it is. The web host is having issues at the moment so the website is temporarily down.
Not happy Jan but what can you do. Hopefully it’ll be up and running soon.
Also, to those who have me listed on their blogroll still under ‘a dash of cinnamon’ i would really appreciate if you could up date it to ‘www.iheartcake.com.au’
Thanks x
NEW WEBSITE!
Posted on: March 24, 2009
Hi all,
My new website is up and running and so will no longer be using this blog. Please update your bookmarks to my new website at
Thanks for all your support xo
Our wedding cake
Posted on: March 21, 2009
- In: Cakes & Cupcakes | Events | Weddings
- 2 Comments
Seeing as though i’m posting a lot about cakes, i thought i would share a picture our wedding cake. Our wedding date was the 9th September, 2006 and i know this sounds so cliche, but time really has flown since then.
We were married on what we hoped would be a beautiful spring day, but mother nature had other ideas in mind for us. Don’t get me wrong, it was still a beautiful day, just not very ‘springy’! I was checking the weather report on BOM like a mad woman in the lead up to the wedding and even though i knew it was going to be wet, i still woke up feeling a tad disappointed that i didn’t get my spring day. Lucky for me though the wet weather stopped exactly at the right moments (like getting out of the car at the church and for our location photos). We also found out when we received our proofs that the rain added an ambiance to our photos which we wouldn’t have achieved had it been bright and sunny.
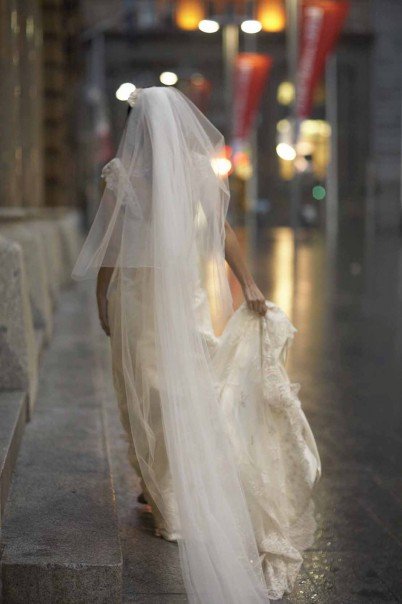
Me
Now, back to the cake – it was a chocolate mud (of course) cupcake tower.
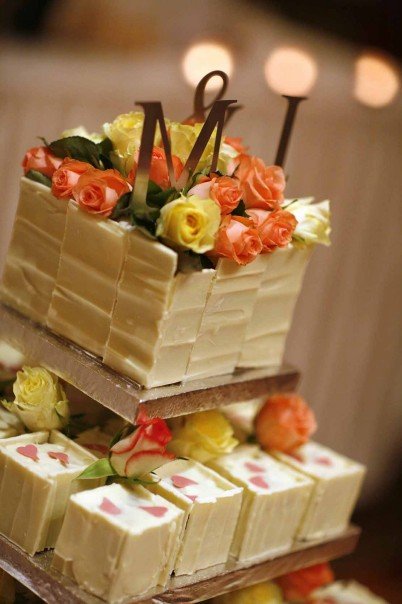
Our wedding cake
We didn’t opt for traditional shaped cupcakes as i had purchased boxes which was going to be served as the bombonniere as we were having dessert and i wanted these cupcakes to fit in nicely. On the boxes, it had ‘Marc & Jenny want you to have your cake and eat it too’ and the idea was that each guest would grab a cupcake and place it in the box before they left.
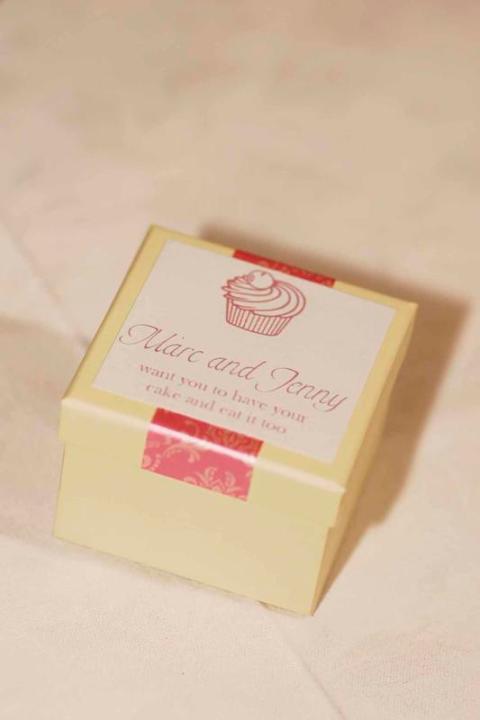
Our bombonniere box
On each table we also had easels with a note saying ‘This little box will need to wait, until it’s time to cut the cake, then you’ll find it’s perfect home, for a yummy cupcake of your own’. We had a lot of comments from our guests saying they loved the idea and thought it was clever. I remember painstakingly printing, cutting and sticking the labels on but after hearing all those comments it was definitely worth it!
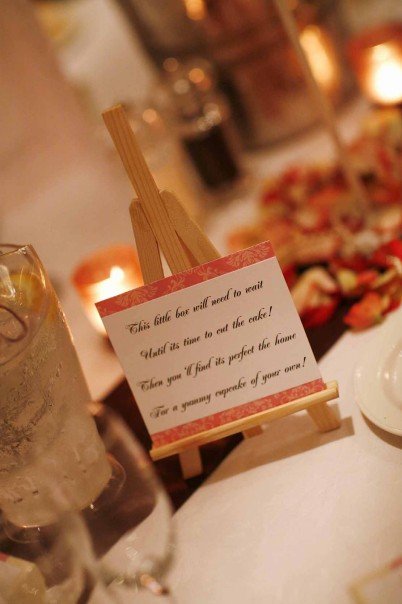
Easels
Flourless Chocolate Mini Cakes
Posted on: March 15, 2009
- In: Cakes & Cupcakes | Recipes
- 1 Comment
Another flourless recipe i know. But this one is really, really, really GOOD. Eat it hot if you can (but don’t burn yourself!)
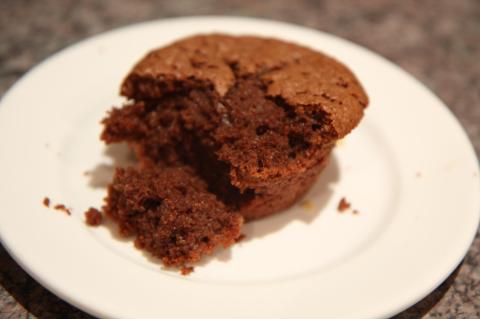
Flourless Chocolate Mini Cakes
Flourless Chocolate Mini Cakes
- 200g dark cooking chocolate, chopped
- 160g butter, chopped
- 5 eggs, separated
- 1 1/2 cups almond meal
- 3/4 cup sugar
Method
- Pre-heat the oven to 170C (340 F)
- Place the chocolate and butter in a small saucepan over low heat and stir until the chocolate and butter is melted and smooth
- Allow to cool slightly, then stir in the egg yolks, almond meal and 1/2 cup of the sugar
- Set aside
- Place the egg whites in a separate bowl and beat with an electic beater until soft peaks form
- Gradually add the remaining sugar and beat until glossy
- Fold the egg white mixture intil the chocolate mixture
- Spoon the mixture into lightly greased muffin tins
- Bake for 30 minutes or until cooked when tested with a skewer
- Set aside to cool
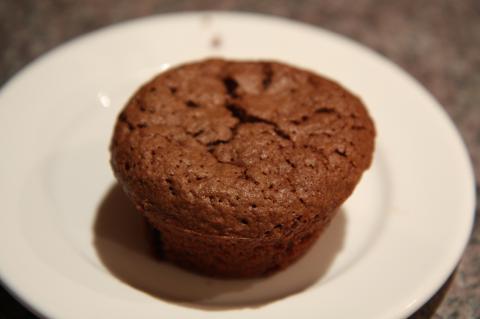
Flourless Chocolate Mini Cakes
Recipe adapted from Donna Hay ‘Chocolate’ book
The February 2009 challenge is hosted by Wendy of WMPE’s blog and Dharm of Dad ~ Baker & Chef.
We have chosen a Chocolate Valentino cake by Chef Wan; a Vanilla Ice Cream recipe from Dharm and a Vanilla Ice Cream recipe from Wendy as the challenge.
After another busy month i was a little relieved to hear that the challenge for February was relatively easy. I’ve made flourless chocolate cake before but the flour was usually replaced with almond meal or a similar substance. Not this one. It was really just chocolate, eggs and butter! Thankfully i had a friend visit the night i was making it and he, along with my husband managed to eat the whole thing to themselves. I was happy to just have a mouthful, so i could taste it but that was enough for me.
The second half of the challenge was to make ice-cream. I must admit i did not do this (again, time restrictions) but i did pair it with bought vanilla ice-cream (Peter’s – the best in my opinion). I think the cake needed the ice-cream, just to break up the huge chocolate hit.
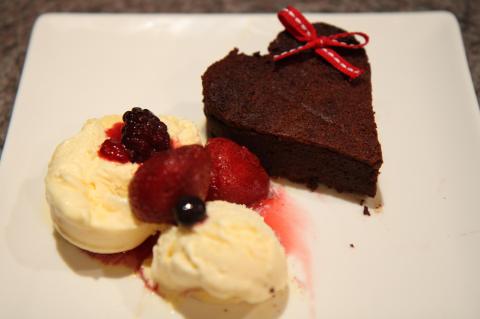
Chocolate Valentino - A flourless chocolate cake
Chocolate Valentino
- 454 grams of semisweet chocolate, roughly chopped
- ½ cup plus 2 tablespoons (146 grams total) of unsalted butter
- 5 large eggs separated
Method
- Put chocolate and butter in a heatproof bowl and set over a pan of simmering water (the bottom of the bowl should not touch the water) and melt, stirring often.
- While your chocolate butter mixture is cooling. Butter your pan and line with a parchment circle then butter the parchment.
- Separate the egg yolks from the egg whites and put into two medium/large bowls.
- Whip the egg whites in a medium/large grease free bowl until stiff peaks are formed (do not over-whip or the cake will be dry).
- With the same beater beat the egg yolks together.
- Add the egg yolks to the cooled chocolate.
- Fold in 1/3 of the egg whites into the chocolate mixture and follow with remaining 2/3rds. Fold until no white remains without deflating the batter.
- Pour batter into prepared pan, the batter should fill the pan 3/4 of the way full, and bake at 375F/190C
- Bake for 25 minutes until an instant read thermometer reads 140F/60C.
- Note – If you do not have an instant read thermometer, the top of the cake will look similar to a brownie and a cake tester will appear wet.
- Cool cake on a rack for 10 minutes then unmold.
Coconut Cupcakes
Posted on: February 24, 2009
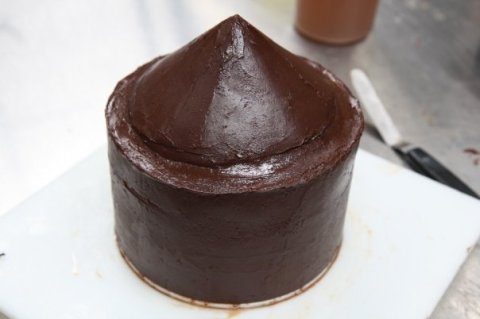
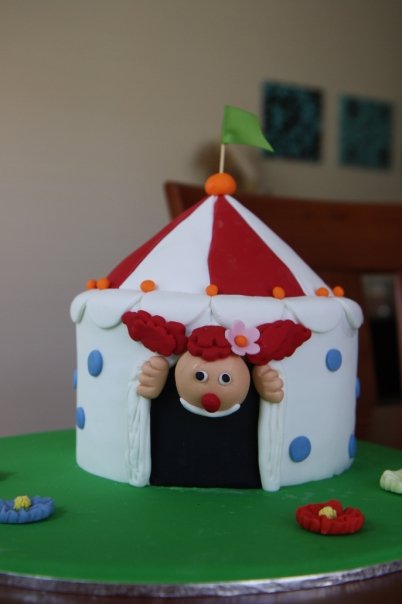
As well as making a cake for my birthday, i also made cupcakes. Because a girl just can’t have one or the other (and admittedly it was a backup plan incase my cake didn’t turn out!)
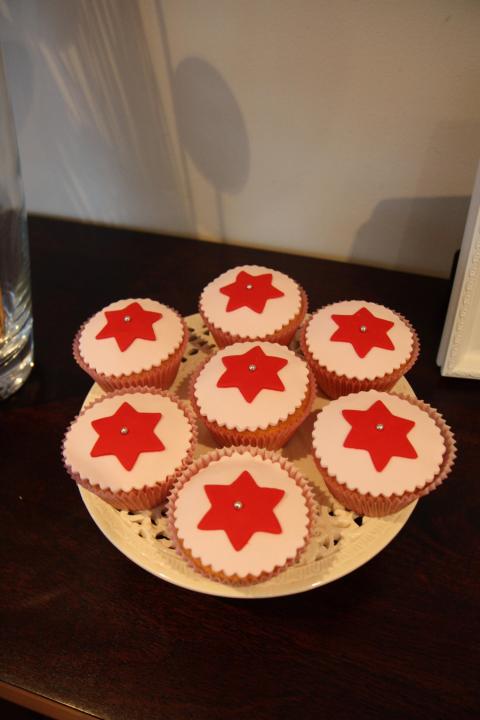
Coconut cupcakes
Coconut Cupcakes
Makes 12
- 125 grams butter (softened)
- 2/3 cup caster sugar
- 2 eggs
- 3/4 cup dessicated coconut
- 1 1/4 cups self-raising flour
- 1/3 cup milk
Method
- Pre-heat oven to 180C (160C fan forced)
- Line 12 hole muffin pan with paper cases
- Beat butter, sugar and eggs in a small bowl with an electric mixer until light and fluffy
- Stir in the coconut, then sifted flour and milk
- Divide mixture among cases and smooth surfaces
- Bake for about 20 minutes or until cooked
- Cool cupcakes on wire racks
- Decorate cupcakes however you please – I used white chocolate ganache and covered with fondant and silver cachous
Happy Birthday to Meeee
Posted on: February 18, 2009
- In: Birthdays | Cakes & Cupcakes | Events
- 7 Comments
Tomorrow is my 29th birthday. TWENTY-NINE. Didn’t i just turn 21?
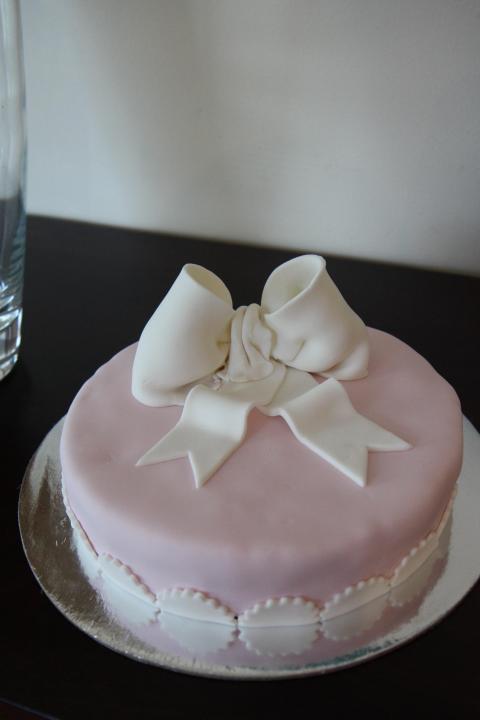
My birthday cake


Recent Comments